How to Set Up a Miner on NI Compute (SN27)?
Feb 10, 2025

💻 Getting Started
NI Compute (SN27) is a decentralized compute network where contributors can offer their GPU power and earn rewards. Here’s a comprehensive guide to getting started as a miner on NI Compute (SN27).
📌 What You’ll Need to Begin
Hardware: GPUs like NVIDIA H200, H100 & A100 (see GPU scoring below).
Software: Ubuntu 22.04 (recommended) or higher, Python 3.10 or higher
Network Access: Ensure an open SSH port and proper firewall setup. Important to Note: Each UID is limited to one external IP. Port 4444 is to be opened so your miner can be allocated properly unless specified in PM2 below.
$TAO: To register your hotkey.
Wandb API Key: For tracking miner performance.
🌐 Step-by-Step Miner Setup
Install Docker
A Docker environment is required for miner resource allocation:
Install Docker on Ubuntu: Official Docs
Verify Docker:
This should display a confirmation message with no errors.
Install Bittensor
Run the one-line installer:
Verify Installation:
If you get a command-not-found error, add Bittensor to your PATH:
Which will give you an output similar to below:
See Bittensor’s documentation for alternative installation instructions. Bittensor Documentation
Create or Regenerate Keys
Create new coldkey (stores funds):
Create new hotkey (used for daily operations e.g. mining/validating/registration):
Regenerate existing keys if needed (to import them on this machine):
Tip: For security, you can generate your coldkey on a secure offline machine and only load the public portion onto your miner or validator servers.
Clone and Install Compute Subnet
Clone the repository:
Install dependencies: required Python packages.
In case you have missing requirements: Install additional system libraries.
CUDA Toolkit and GPU Drivers
Tip: If Nvidia toolkit and drivers are already installed on your machine, scroll down to step 5 to verify then move on to the docker CUDA support.
Download the latest CUDA from NVIDIA's official page.
Install (example for Ubuntu 22.04 (Dec. 2024)):
Set environment variables:
Reboot to finalize changes:
Verify driver and CUDA:
The output of which should look something like:
NVIDIA Docker Support
Enable GPU functionality within Docker containers:
WandB Setup
Create a free WandB account: wandb.ai
Obtain an API Key and place it into your
.envfile:
Monitor stats at WandB: neuralinternet/opencompute
PM2 Setup
PM2 Process Manager monitors the operation and helps keep your miner or validator running persistently.
Confirm pm2 is installed and running correctly:
Networking and Firewall
Open necessary ports:
Install and configure
ufw:
Tip: You can open any ports:
sudo ufw allow xxxx/tcpand use them as youraxon.portdefault e.g.sudo ufw allow 8091/tcpand this port would be specified in your pm2 miner process arguments as--axon.port 8091. If you are using a cloud server it is a good idea to check with your provider if ports are open by default. If you can create your own network rules make sure these inbound rules are applied to the server. Ask your provider for assistance with this networking step.
Add user to docker group (if not already):
Registering Your Hotkey
You need $TAO tokens in your coldkey to register the hotkey on the chosen netuid.
Main Network (netuid = 27, known as
finney):
Test Network (netuid = 15, known as
test):
If you get the error too many registrations this interval, wait for the next interval and retry.
Registration cost can be checked Here. Or check using the CLI w/
btcli s list(Cost is 'RECYCLE').
Running a Miner
The miner contributes GPU resources to the network. Make sure your ports are open and your environment is set up as described above.
General Miner Command:
-netuid: Subnet ID (27 for main, 15 for test).
-subtensor.network: Your Bittensor chain endpoint.Main:
finneyTest:
testOr use a custom endpoint, e.g.
subvortex.info:9944(recommended)
-wallet.name&-wallet.hotkey: The coldkey/hotkey names you created above and used in registration (btcli's defaults aredefaultanddefaultbut both can be freely customized)-axon.port: default 8091 can be replaced with any port number allowed by ufw as instructed above to serve your axon. Important for proper functionality and miner<->validator communication.-ssh.port: A port opened with UFW as instructed above under the Networking and Firewall section (e.g., 4444) used for allocating your miner via ssh.
Miner Options
-miner.whitelist.not.enough.stake: Whitelist validators lacking sufficient stake (default: False).
-miner.whitelist.not.updated: Whitelist validators not on the latest code version (default: False).-miner.whitelist.updated.threshold: Quorum threshold (%) before starting the whitelist (default: 60).
Checking Miner Logs
To inspect your miner’s logs:
pm2 logsshows rolling log output.
pm2 monitprovides a live interface with CPU usage, memory, etc.
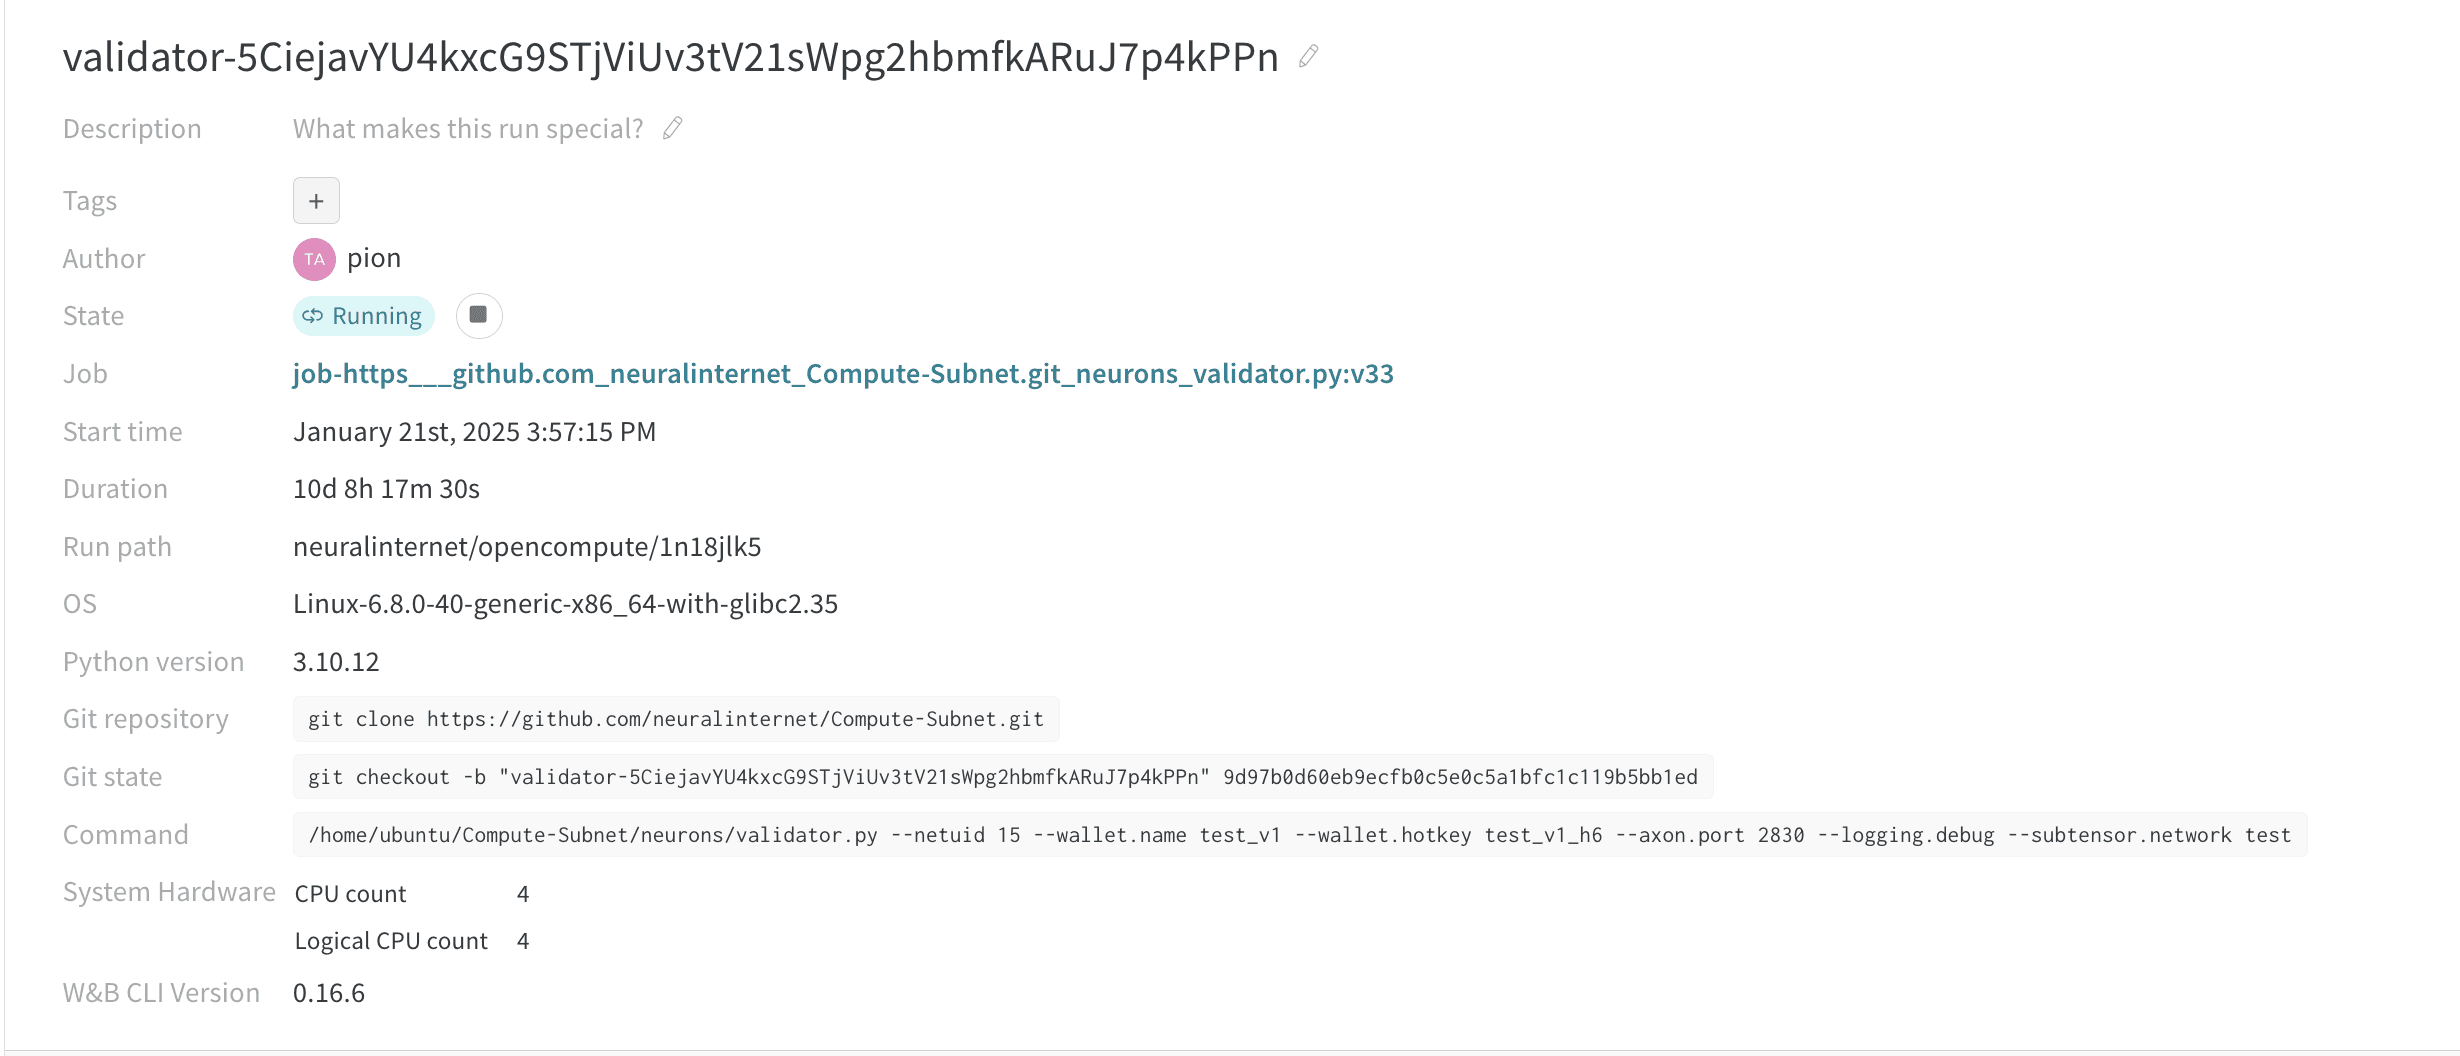
Run pm2 logs to debug any issues and view information on your miner. Specifically, find your wandb run to view more live information. In the wandb project, you can view the scores you receive from validators.
pm2 miner logs:

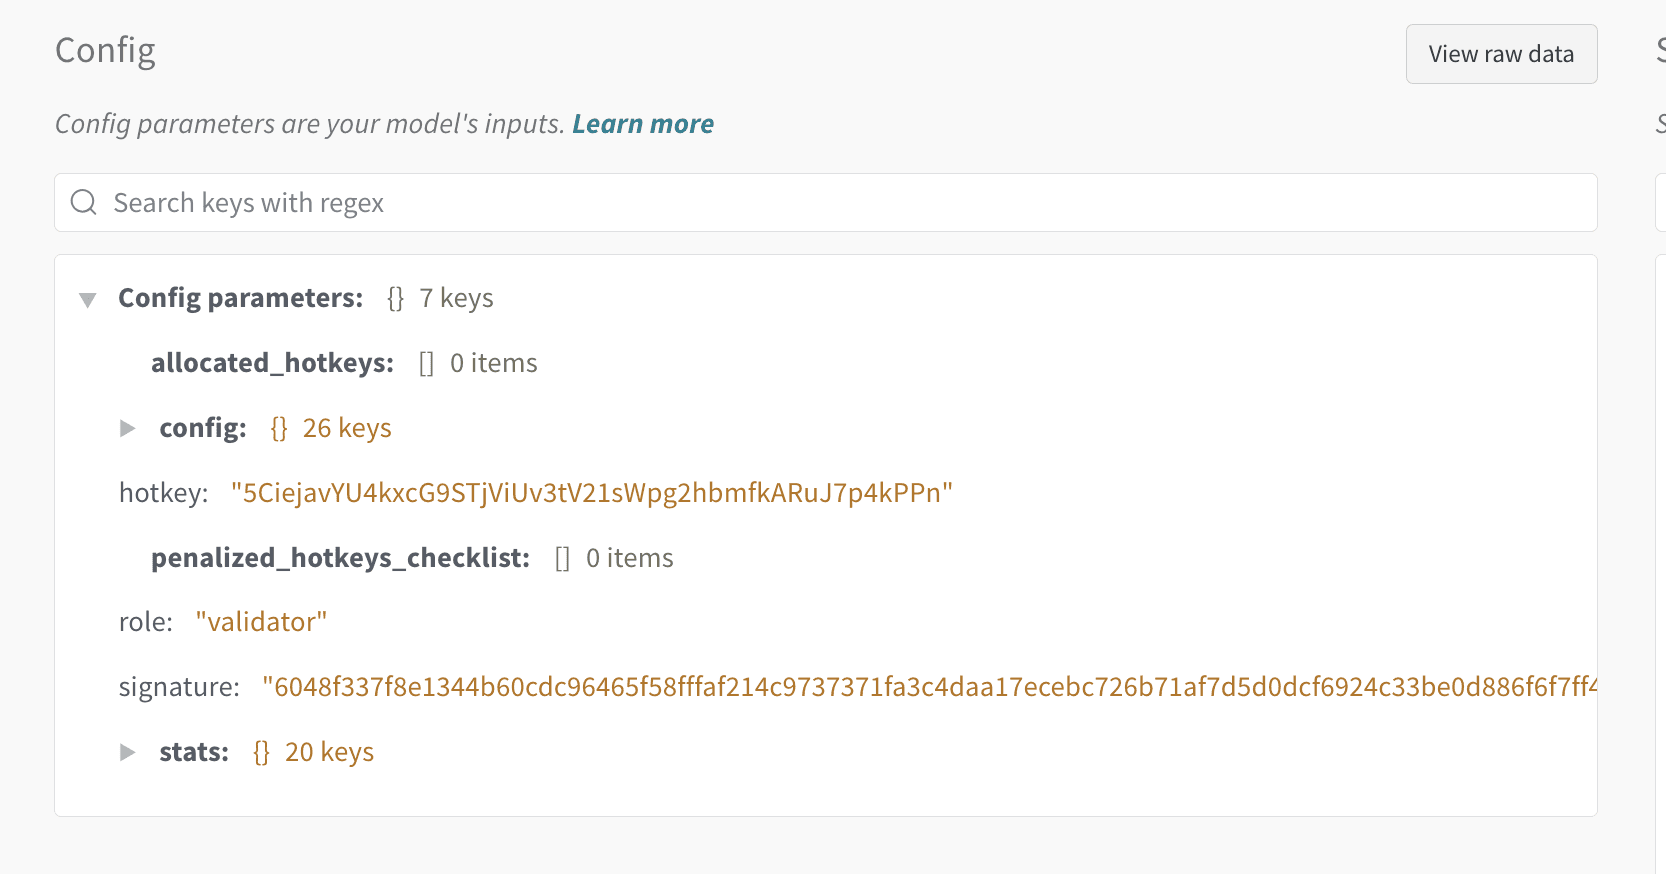
You can view your scores through the Wandb run of a Validator:
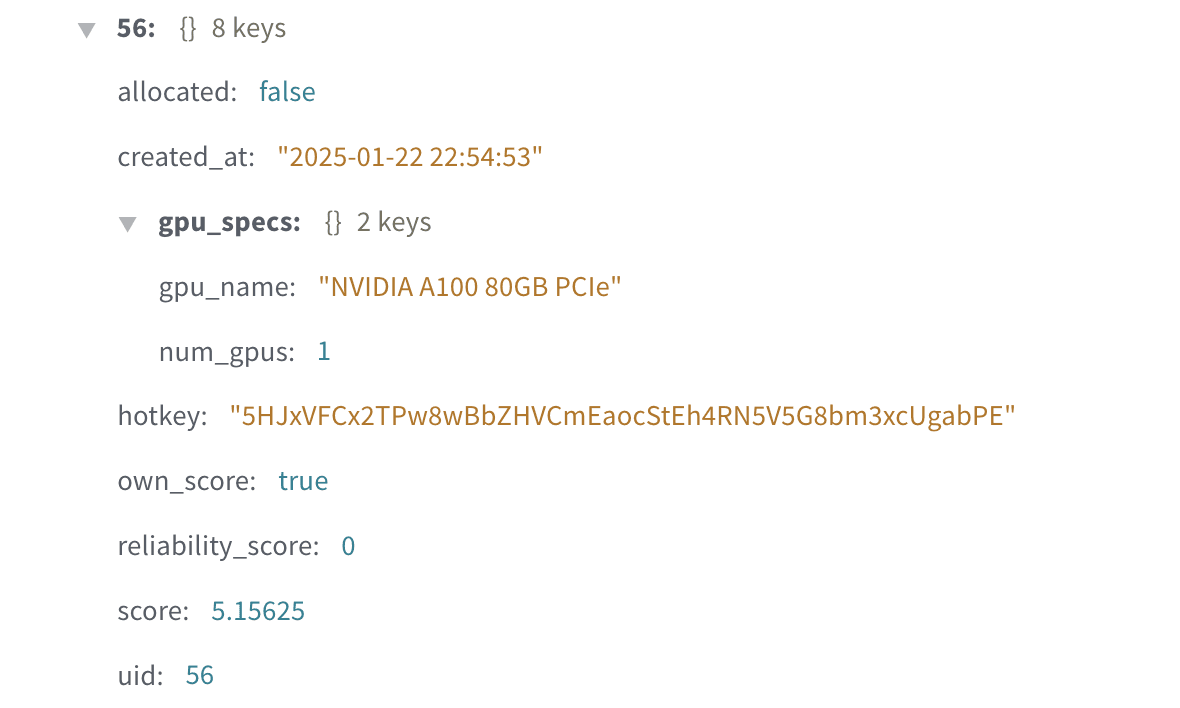
Expand the stats section:
Find your miner UID:
🔧 Troubleshooting
No requests received (no ‘Challenge’ or ‘Specs’ events):
Check your open ports (default allocation port: 4444). Check your Axon port is open with your machine or cloud provider. Use
pm2 describe <PROCCESS_NAME>andpm2 show <PROCCESS_NAME>to view the arguments you used to run your miner e.g.-axon.portand-ssh.portand check withsudo ufw statusthat the right ports are open with UFW as well.Check your pm2 logs for any errors or tracebacks to help troubleshoot.
Ensure the miner is running properly and not blacklisted.
Deregistered unexpectedly:
Competition on the network is high; more powerful devices may outcompete you.
Connection or environment issues.
Make sure scripts and Docker containers are running stably.
🔧 GPU Recommendations
Performance-based rewards depend on the GPU’s compute power. Here's a list of all the GPUs that are supported on NI Compute (SN27).
💡 Tips for Success
Use in-house hardware for better control and rewards.
Recommended cloud providers: Oracle, Coreweave, Latitude.sh (use referral code: BITTENSOR27).
Setting up a miner on Subnet 27 is your gateway to decentralized compute. By contributing your GPU power, you play a vital role in enabling scalable, permissionless computing for machine intelligence. Ready to start? Dive in now! 🌐✨
Note: This article is a condensed version of the full documentation on our website. For complete details, click here.